Table of Contents
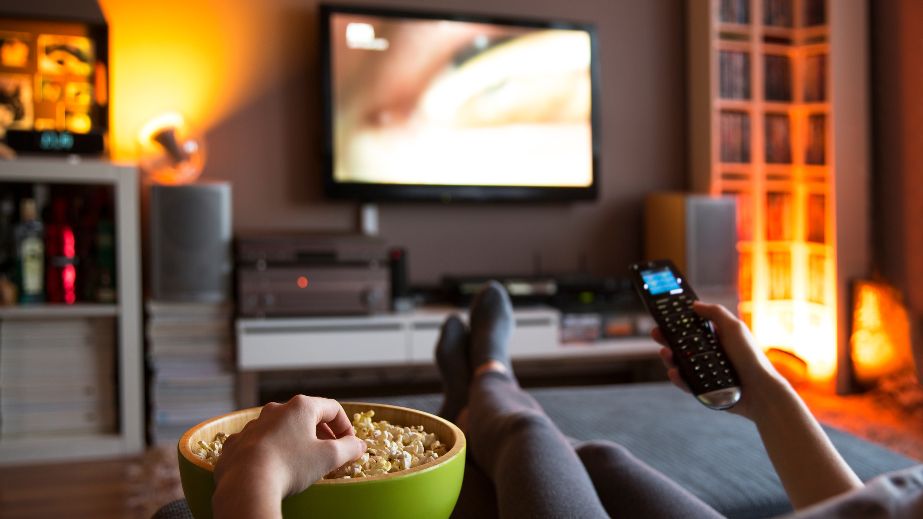
A multi-channel home theater system can provide an immersive and captivating audio experience when properly calibrated. In order to achieve optimal sound quality, it is essential to follow a step-by-step calibration process that accounts for the unique characteristics of your room and speaker setup.
This article will guide you through the process of calibrating your home theater system, ensuring that you get the best possible audio experience.
Before diving into the calibration process, it is crucial to prepare the room, understand your system’s components, and ensure that everything is connected properly.
This includes the correct positioning of the speakers and configuring your A/V receiver to match your specific setup. With these preparatory steps completed, you can proceed with the calibration process using various techniques to optimize sound quality.
Key Takeaways
- Proper calibration is essential for optimal multi-channel home theater sound quality.
- Preparing the room and understanding the components are crucial steps before calibration.
- Techniques for optimizing sound include speaker positioning and configuring your A/V receiver.
Preparing the Room
Before you begin calibrating your multi-channel home theater, it’s essential to prepare the room adequately. This will ensure optimal sound and performance throughout the entire listening area.
An essential aspect to consider is your seating arrangement. The placement of seats can significantly impact the listener’s experience, as they may be too close or too far from the speakers. It’s essential to determine the best positioning and distribute seats across multiple rows if your room allows it. Additionally, consider using memory presets in your AV receiver to store different calibrations for each row of seats1.
The listening area is another crucial aspect to address. In an ideal setup, the primary listening area should be in the center of the room, equidistant from the left and right speakers.
Make sure there is enough space for listeners to move around and avoid unnecessary obstructions or reflections caused by furniture or objects.
Room treatment plays an essential role in achieving optimal sound quality. Consider using acoustic panels, bass traps, and diffusers to reduce unwanted reflections, standing waves, and echo in the room.
They will improve the clarity and detail of your speaker system’s performance.
When it comes to soundproofing, you’ll want to minimize sound leakage and block out external noise to create an immersive experience. Utilize weatherstripping on doors and windows, and consider installing mass-loaded vinyl (MLV) or other soundproofing materials on walls and ceilings.
This will help prevent unwanted noise from leaking in or out of the room.
Lastly, don’t forget about insulation. Proper insulation can significantly reduce sound transmission and lower heating and cooling costs.
Make sure that the walls, floor, and ceiling are adequately insulated, and use materials like fiberglass or Rockwool to help eliminate sound transmission and improve your home theater’s overall performance.
By addressing all these aspects, you’ll create a suitable environment for a high-quality, multi-channel home theater experience.
Understanding Components
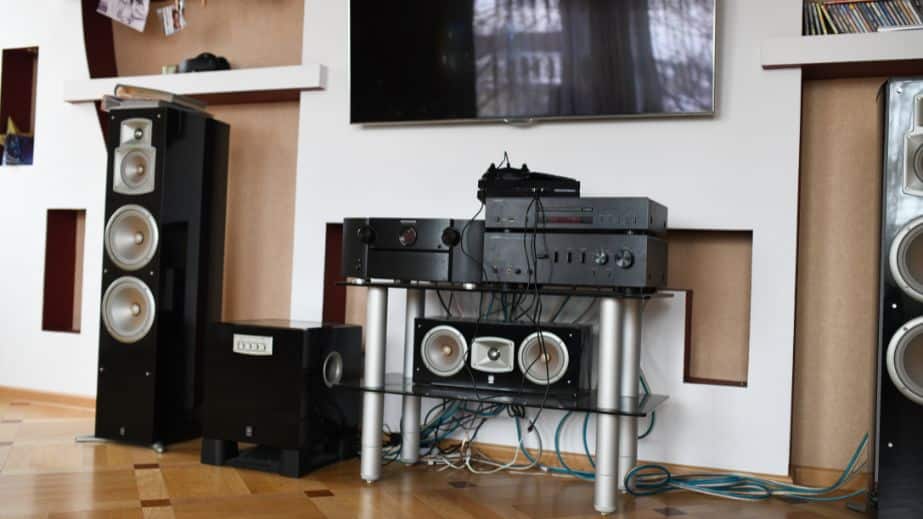
In a multi-channel home theater system, there are several essential components that work together to create an immersive audio experience.
To achieve optimal sound, it’s crucial to understand each component’s function and role in the system.
Speakers are the most visible part of any home theater system, responsible for producing sound from various audio channels. A typical multi-channel home theater setup comprises several speaker types, such as front left and right, center, and surround speakers. It’s essential to choose high-quality speakers that can deliver clear and balanced audio across all channels.
A subwoofer is an essential component that handles low-frequency sounds, adding depth and impact to movie soundtracks and music. It’s responsible for reproducing bass notes, enhancing the overall audio experience by providing a more profound sense of immersion in a multi-channel home theater system.
The receiver is the heart of the home theater system, responsible for processing audio and video signals and delivering them to the speakers and display device. The A/V receiver acts as a central hub that connects all your components, such as Blu-Ray players, gaming consoles, and streaming devices. It’s crucial to select an A/V receiver that supports the required number of audio channels and offers compatibility with the latest audio and video technologies.
Choosing the right home theater system is vital for an enjoyable and immersive media experience. Considering the various components and their functions can greatly impact the overall audio quality and listener experience. By understanding speakers, subwoofers, and the A/V receiver’s roles, one can effectively calibrate and optimize these components in a multi-channel home theater setup for optimal sound.
Connecting Multi-Channel System
When setting up your multi-channel home theater system, it’s essential to properly connect all components for the best audio and video experience.
Start by gathering the necessary cables and wires for connecting your devices, such as HDMI cables, audio cables, and speaker wires.
First, connect your television to the audio and video sources, like a Blu-ray player, via an HDMI cable. HDMI cables offer the highest quality audio and video transmission, ensuring an immersive cinematic experience.
Make sure to use the appropriate HDMI input for your television, usually labeled as HDMI ARC, which allows for bi-directional transmission of audio signals.
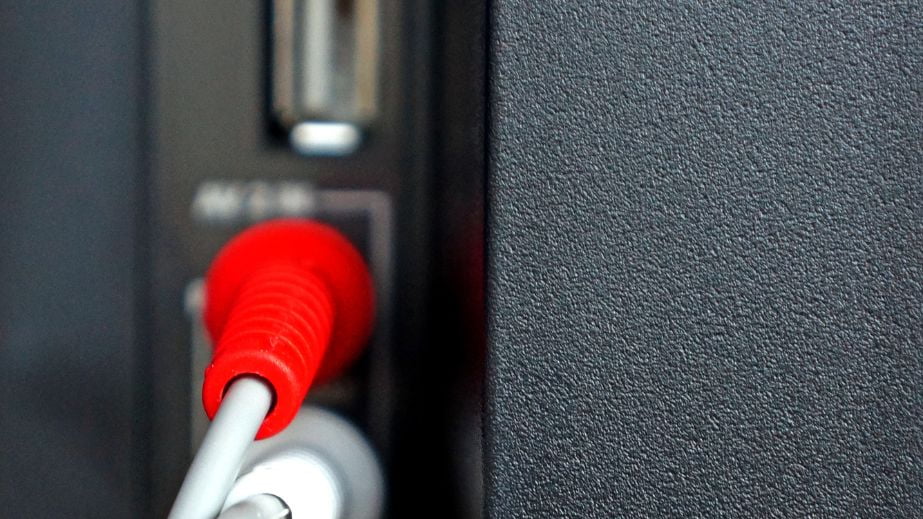
Next, to connect the speaker system, use the appropriate speaker wires that come with your home theater kit or purchase high-quality ones designed for optimal audio transmission.
The speaker wires should be connected to the corresponding terminals on the back of the receiver, ensuring that the positive and negative connections are accurately matched.
For the subwoofer, you may need a separate audio cable to connect it to the receiver properly.
Be sure to use the dedicated subwoofer output on the receiver to guarantee optimal low-frequency output.
Finally, manage the cables and wires by organizing them neatly behind your entertainment system.
This will give your home theater a clean, professional appearance while also preventing any possible signal interference.
By confidently following these instructions, you’ll have a well-connected multi-channel home theater system delivering clear and immersive sound for your entertainment needs.
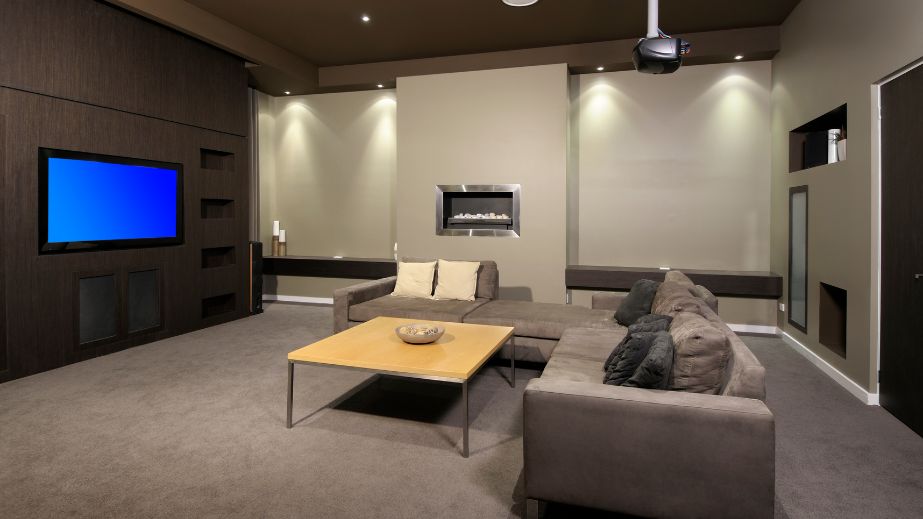
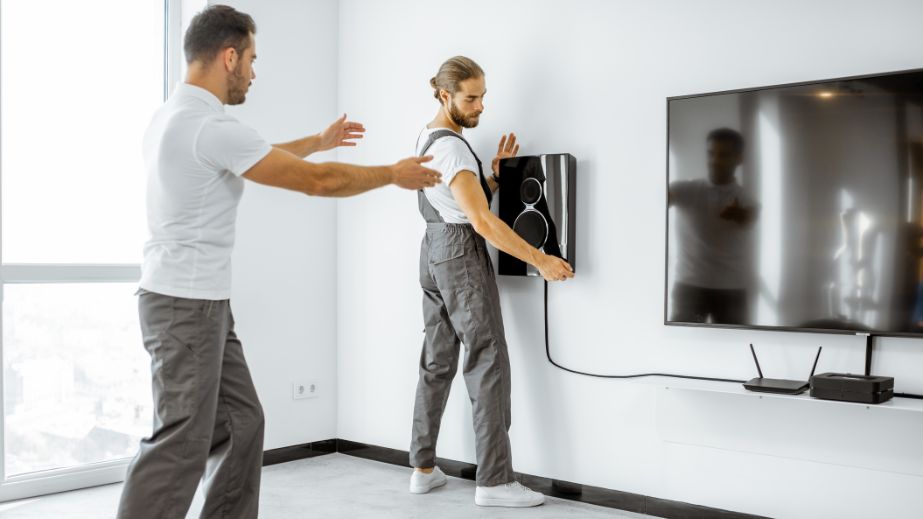
Speaker Installation and Positioning
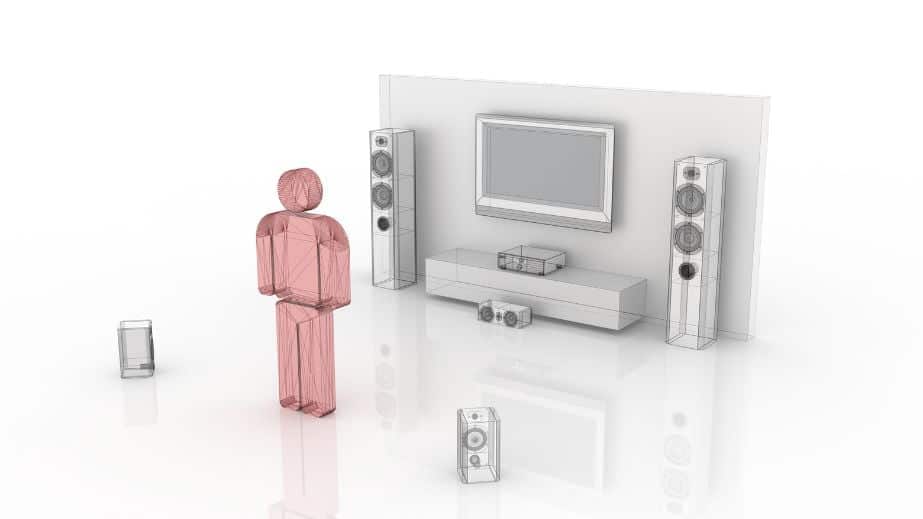
Before you begin calibrating your multi-channel home theater for optimal sound, proper speaker installation and positioning is crucial.
The right placement can greatly enhance your viewing experience.
Front Speakers: Start by placing the left and right front speakers at an equal distance from the screen, ideally at least six feet apart. For the best balance, your left, right, and center front speakers should be equidistant from your preferred viewing position. You may want to slightly angle the front speakers inward, or “toe-in,” to focus the sound towards the listening area Klipsch.
Center Speaker: The center speaker is essential for reproducing clear dialogue and sound effects in movies and television. It should be positioned directly above or below your screen, as close to ear level as possible. This ensures that dialogue remains centered on the screen to maintain a cohesive sound field.
Surround Speakers: For a traditional 5.1 or 7.1 system, place your surround speakers to the side and slightly behind your main listening position. Ideally, they should be elevated about 2 feet above ear level and angled towards the listener to create an immersive sound field, Dolby.
Rear Speakers: In a 7.1 system, rear speakers should be placed behind the viewer, and slightly higher than the surround speakers. This helps in creating a more enveloping surround sound experience.
Height Speakers: For advanced setups with height speakers (such as Dolby Atmos), mount them in the ceiling or high on the walls. This allows the sound to be dispersed evenly from above, creating a more engaging experience.
When installing in-wall or ceiling speakers, it’s recommended to position them at least 18-24 inches away from adjacent walls or ceilings to avoid any issues with sound reflection Crutchfield.
In summary, proper speaker placement, and positioning can significantly affect the overall sound quality of your home theater.
Take the time to experiment and find the optimal speaker configuration that suits your room and enhances your listening experience.
Configuring the A/V Receiver
Before setting up your multi-channel home theater for optimal sound, you must configure the A/V receiver.
This process involves connecting your media devices such as Blu-ray players, game consoles, or streaming devices to the receiver and setting up the video and audio connections between the receiver and your television.
Start by connecting your media devices to the appropriate HDMI inputs on the back of the receiver. Most modern A/V receivers support multiple HDMI inputs, allowing you to connect multiple devices.
If your media devices use a different type of connection, refer to your receiver’s user manual for specific instructions.
Once your media devices are connected, run an HDMI cable from the receiver’s HDMI output to your television’s HDMI input. This cable will carry the video and audio signals from the receiver to your television.
If your receiver does not have an HDMI output, alternative connections such as component video or composite video can be used to transmit the video signal to your television. However,
HDMI should always be the preferred choice as it offers the highest quality signal and supports the latest audio and video formats.
After connecting the video and audio signals, power on your A/V receiver and television. Your receiver might have an on-screen setup wizard that guides you through the configuration process, or you may need to access the receiver’s setup menu directly.
Either way, be prepared to make adjustments to speaker size, crossover settings, distance, and levels. Using an auto-calibration system (like Audyssey MultEQ or Yamaha’s YPAO) can help you with these settings, but manual adjustments can also be made if needed.
During the setup process, you will likely need to assign the HDMI inputs on your A/V receiver to corresponding devices or input names. This step ensures that the correct video and audio signals are sent from your media devices to your television when you select a specific input on your receiver. It’s essential to label your HDMI inputs for easy reference, as this will help you quickly switch between devices while using your home theater system.
Properly configuring your A/V receiver is crucial for ensuring that your multi-channel home theater system delivers the best possible sound and viewing experience. By taking the time to set up your receiver correctly, you will enjoy immersive, high-quality entertainment on your own that will rival any professional installation.
Calibration Process

The calibration process for your multi-channel home theater system is essential to achieve optimal sound performance.
The first step in the process is to position the speakers and subwoofer at the appropriate distance from the primary listening position.
By doing this, you can ensure each speaker provides adequate surround sound coverage and an immersive experience.
It is important to measure the distance between each speaker and the primary listening position to ensure proper audio timing. This can be achieved by using a tape measure or a laser distance meter.
Once the distances are recorded, you can enter these values into your home theater receiver’s room correction software, which will adjust the timing and volume levels accordingly.
Next, you should position a microphone at the primary listening position to capture the audio output from each speaker.
This measurement will help in detecting room anomalies, such as uneven frequency response and problematic reflections.
The room correction software will then apply EQ adjustments to correct these issues and ensure a smooth, even response across all channels.
After the correction is complete, it’s crucial to check the frequency response of each speaker to ensure accurate and consistent sound reproduction.
This can be done by playing a test tone through each speaker individually and using a sound level meter or an app on your smartphone to measure the response.
Make changes to the EQ settings as necessary to achieve a consistent sound balance.
Finally, the calibration process needs to account for room correction. This step will involve adjusting the output levels of each speaker and the subwoofer to compensate for any room-induced acoustic problems.
By making these adjustments, you can ensure that your multi-channel home theater system delivers a clear, realistic, and balanced sound experience.
In conclusion, calibrating your multi-channel home theater for optimal sound involves several important steps, including positioning speakers at correct distances, taking accurate measurements, analyzing frequency response, and adjusting EQ settings. By following these guidelines, you can ensure your system provides an immersive and enjoyable audio experience.
Advanced Techniques for Optimizing Sound

When calibrating your multi-channel home theater, there are several advanced techniques to consider that can greatly enhance your listening experience.
These include tuning, crossover, dynamic range, speaker size, distance settings, resolution, and room acoustics.
Tuning your system can significantly improve its performance by adjusting the frequency response of each speaker. One common method is to use a room calibration tool that measures the speakers’ response in the room and makes necessary corrections to achieve a more balanced sound.
Crossover settings play a crucial role in directing low-frequency information to the subwoofer and high-frequency information to other speakers. Properly setting the crossover frequency can result in a smoother transition between speakers and more accurate bass reproduction. A common recommendation is setting the crossover at 80Hz, ensuring a seamless blend between the subwoofer and the main speakers.
Dynamic range is the difference between the quietest and loudest sounds in your home theater system. Expanding the dynamic range can add depth and realism to your listening experience. Adjust the volume levels on your AV receiver, ensuring that you can hear both soft and loud passages clearly without distortion or excessive noise.
Speaker size settings impact how your AV receiver handles bass frequencies. Ensure that your speakers are set to “small” if they cannot handle low frequencies well, allowing the subwoofer to manage those signals more effectively. If your main speakers can handle bass well, set them to “large.”
Distance settings involve adjusting the delay time for each speaker so that the sound arrives at your listening position simultaneously. Use a measuring tape to find the distance from each speaker to the main listening position and enter these values in your AV receiver’s setup menu.
Resolution refers to the audio quality and clarity of your system. Ensure that your source devices and AV receiver support high-resolution audio formats, such as Dolby Atmos, DTS, or lossless codecs like FLAC and ALAC, to benefit from the best possible sound quality.
Finally, optimizing your room acoustics can dramatically enhance your home theater experience. Absorptive materials like curtains, carpets, and acoustic panels can help reduce reflections and improve sound clarity. Additionally, placing your speakers at proper angles and distances from the walls can help minimize unwanted resonances and create a more immersive soundstage.
By applying these advanced techniques to your multi-channel home theater calibration, you’ll be well on your way to achieving optimal sound quality for an immersive and enjoyable movie or music experience.
Selecting and Enjoying Content
When setting up a multi-channel home theater for optimal sound, selecting and enjoying a variety of content adds to the overall experience.
Choosing from movies, music, videos, and different types of media brings out the best in your home theater system.
With a quality screen or projector, movies presented in Blu-ray or DVD format will make your home theater shine.
As you watch blockbuster films and your favorite shows, take note of how various audio features, like surround sound, complement the stunning visuals.
It is essential to explore different music genres to truly appreciate the auditory capabilities of your home theater system.
Enjoying high-quality music in multiple formats, such as CDs and streaming services, allows you to identify and fine-tune your speakers for an even better listening experience.
Video games also provide an immersive experience in multi-channel home theaters. Modern game consoles support high-quality audio and video, ensuring your gaming experience is elevated to new levels.
Additionally, experimenting with different gaming genres will enhance your ability to optimize the speaker system.
Remember to stay neutral and confident when selecting content, as this helps you stay focused on finding the right balance for your home theater and creating a truly satisfying audiovisual experience.
Through exploration and optimization, you can enjoy the full potential of your multi-channel home theater system.
Frequently Asked Questions
How do I optimize my home theater sound?
To optimize your home theater sound, first, position your speakers correctly according to your preferred listening spot.
Then, adjust the speaker levels and distances accordingly. Use your receiver’s built-in room correction system if available, or manually calibrate the levels using an SPL meter.
Lastly, ensure proper bass management by adjusting the crossover settings.
How do I calibrate my home theater system?
Begin by selecting a common listening position and connect a calibration microphone if available. Adjust the receiver’s master volume to a comfortable listening level.
Proceed to initiate the receiver’s test tones and adjust the volume levels of each channel so that they sound similar in volume.
How do you calibrate 5.1 speakers?
For a 5.1 setup, position your speakers as follows: left and right front speakers at ±30°, center speaker directly in front, and left and right surround speakers at ±110° to 120°.
Adjust the speakers’ height and distance to create a balanced soundstage. Use your receiver’s calibration software or an SPL meter to calibrate the levels and distances, ensuring a cohesive audio experience.
What are the best settings for 7.1 surround sound?
For a 7.1 setup, position your speakers as follows: left and right front speakers at ±30°, center speaker directly in front, left and right surround speakers at ±90° to 110°, and left and right rear surround speakers at ±140° to 150°. Maintain the correct height and distance similar to the 5.1 setups. Calibrate your system using your receiver’s software or an SPL meter for optimal sound.
What tools are needed for home theater calibration?
Some necessary tools for home theater calibration include a tape measure for measuring distances, a sound pressure level (SPL) meter to measure sound levels, and a calibration microphone if your receiver includes room correction software. Other useful tools include a tripod for mounting the calibration microphone and acoustic treatments to improve your room’s sound quality.
Can I use a calibration microphone for surround sound?
Yes, you can use a calibration microphone for surround sound systems. The calibration microphone helps the receiver’s room correction software to analyze your room’s acoustics and automatically adjust the speaker levels and distances for optimal sound performance.
Simply follow your receiver’s instructions when using the calibration microphone to ensure accurate results.